
Odoo 14 Marketing Automation
I will be downloading the Odoo 14 Marketing Automation Module from Odoo Apps here.
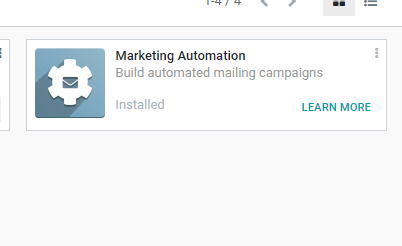
Next what? You only need to access the module by clicking the App icon.

I entered the module and obtained the dashboard mentioned above.
Creating Campaigns
I am now going to create campaigns on the dashboard. Also, the dashboard is the platform where we can get the campaigns' list and campaign status. It allows us access to the number of campaigns and the name of each campaign and the number of participants. Successful campaigns that have been finished can also be reviewed here.
I clicked the Create button to build
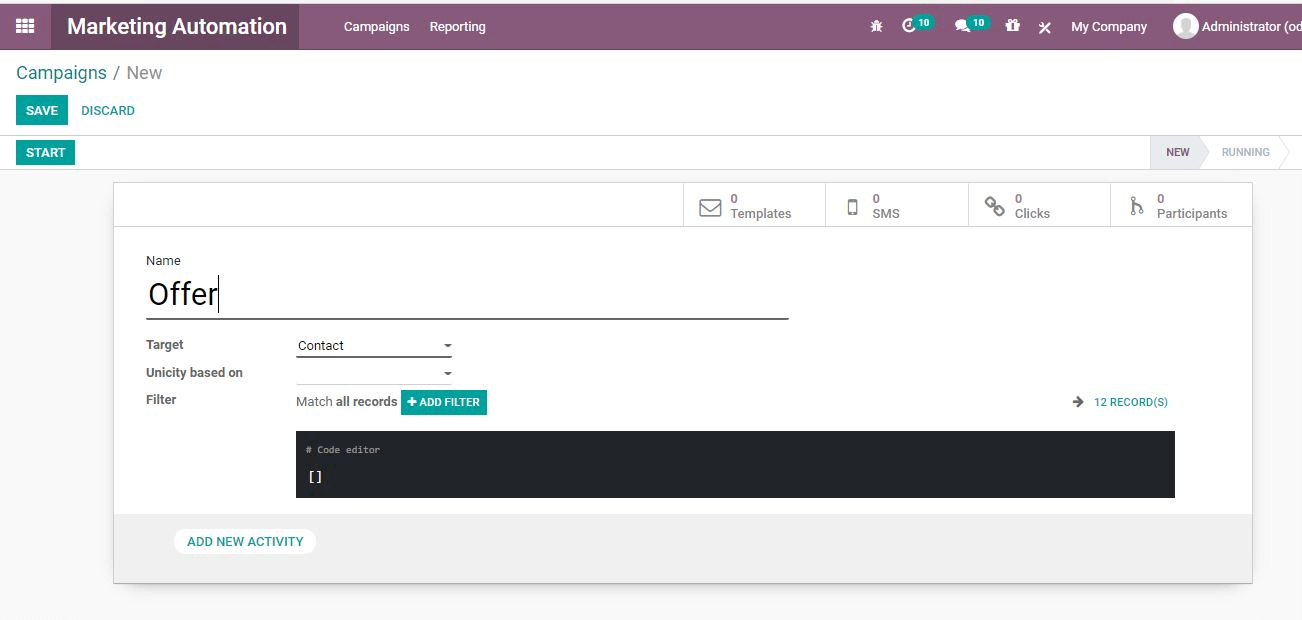
To create a campaign, we got this form.
I will fill in the campaign name now and set the target model. Contact is an example of a target model.
Let us see if a new activity can be applied here. To create multiple activities planned for the campaign, just click the option.
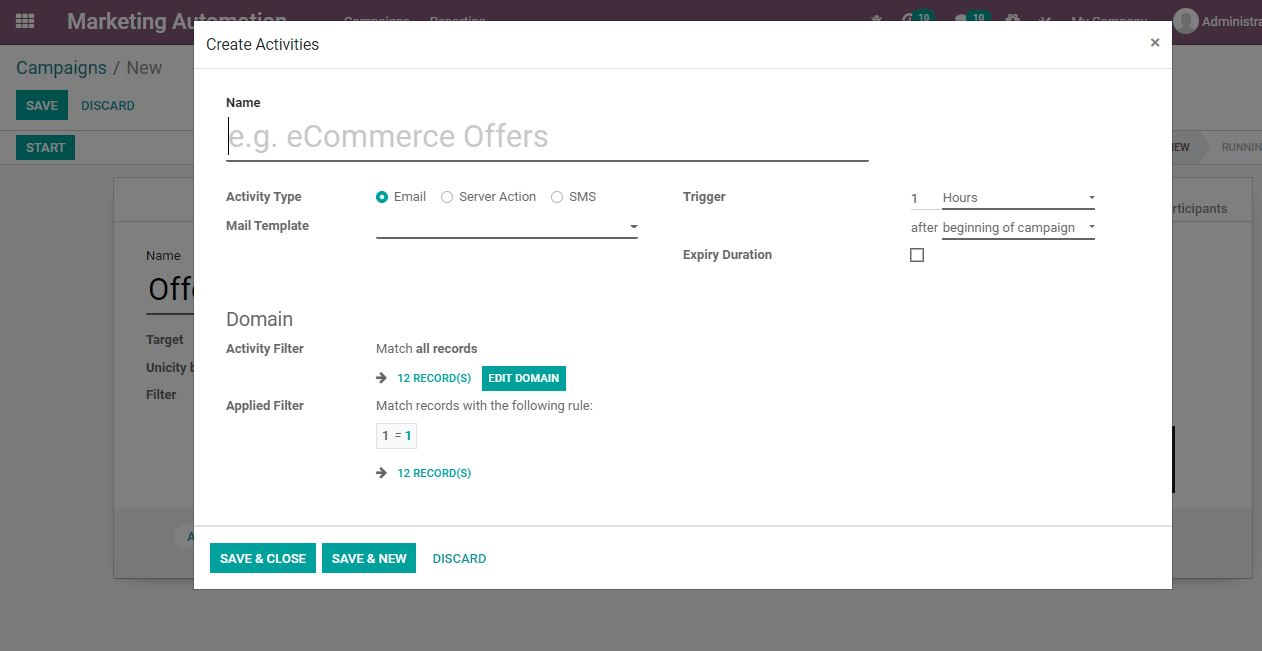
To complete the process, now I have to fill in the fields here. The first goal is to describe the activity's name. You can then set the type of activity as email or SMS.
We can pick the Mail prototype "Mail Template" as well.
Mail Design Setup "Configuring Mail Template"
Now I'm going to click the link button on the email design & template selection field to complete & create the new template email.
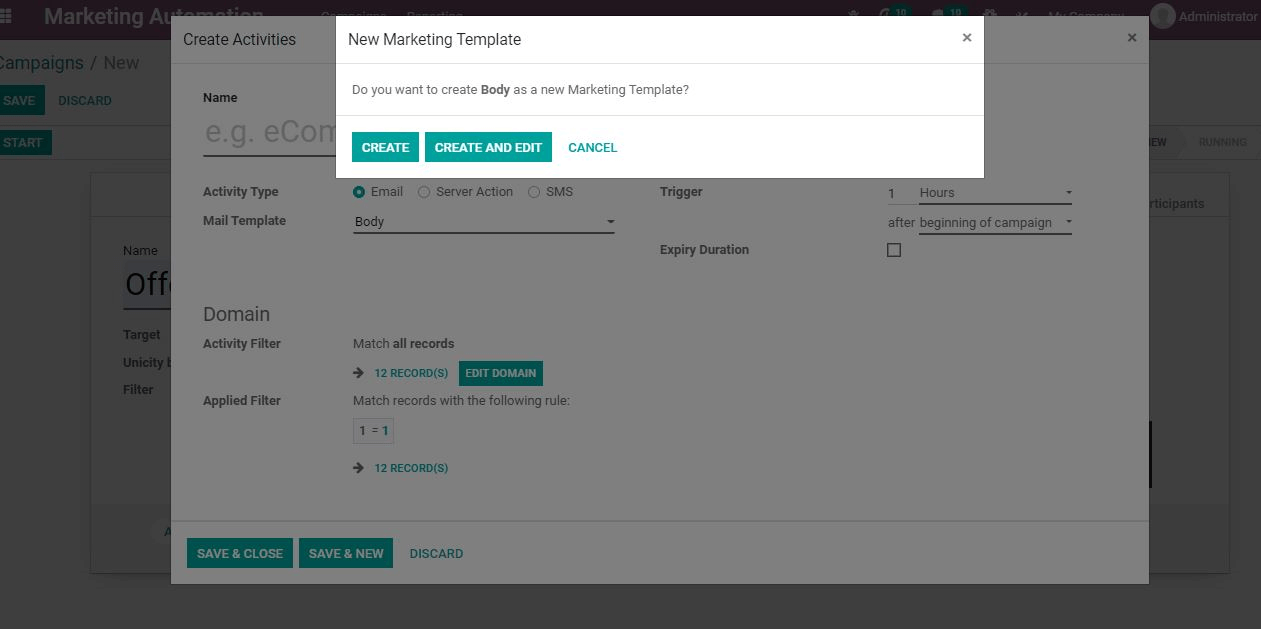
A new window appeared just as I clicked on the Create option. From the given options, we can now select a template.
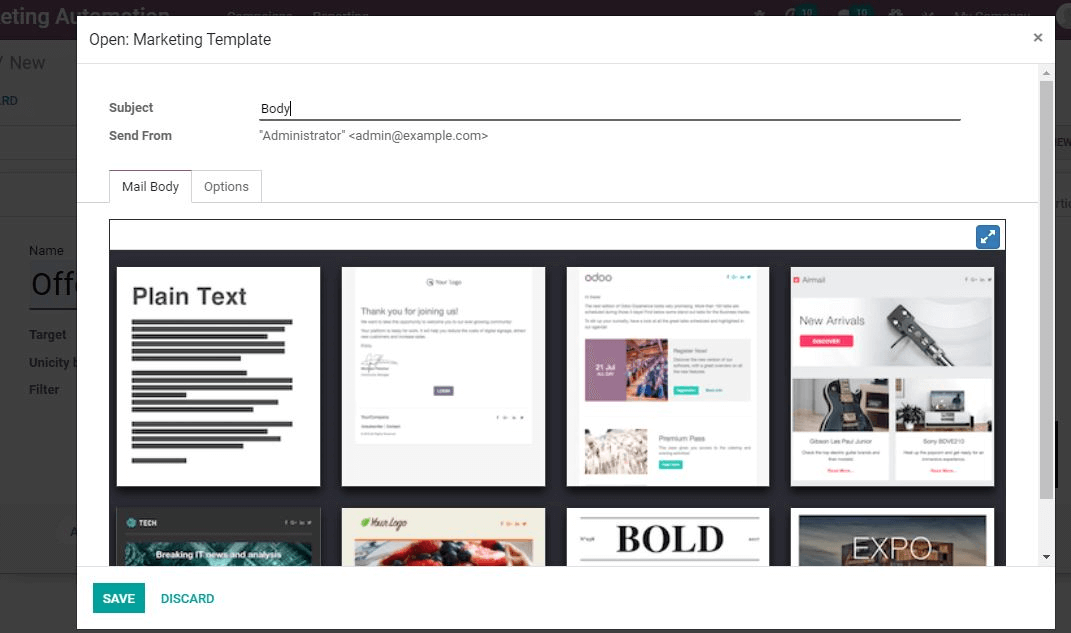
Odoo 14 also offers the support of building blocks in an appealing way to create new templates.
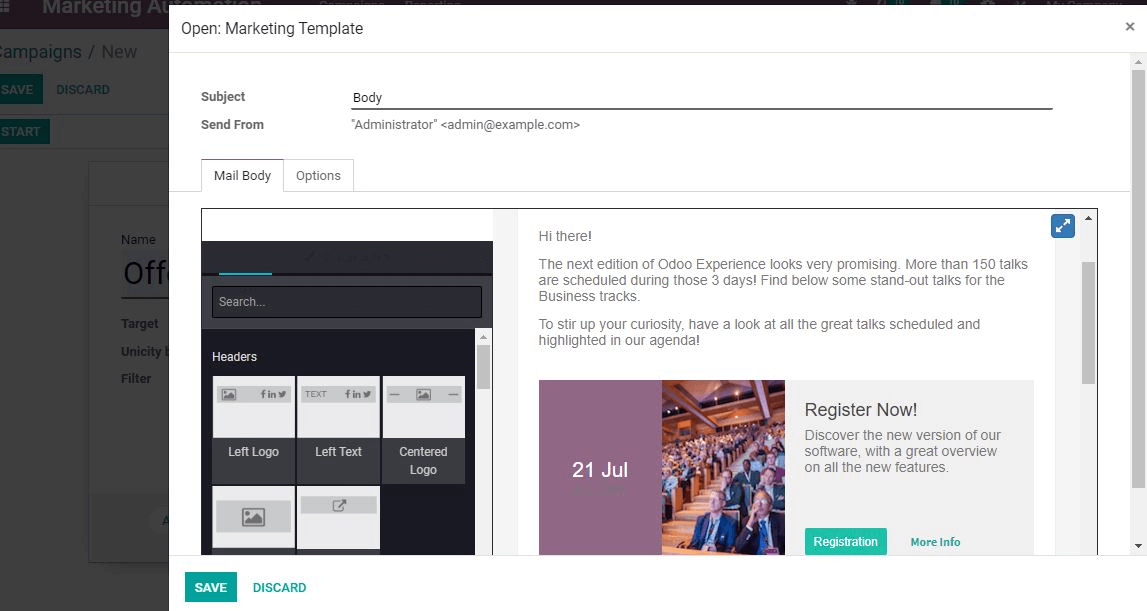
We can find two tabs- mail body and options- when we create a marketing template. The Options tab allows the user to add additional features.
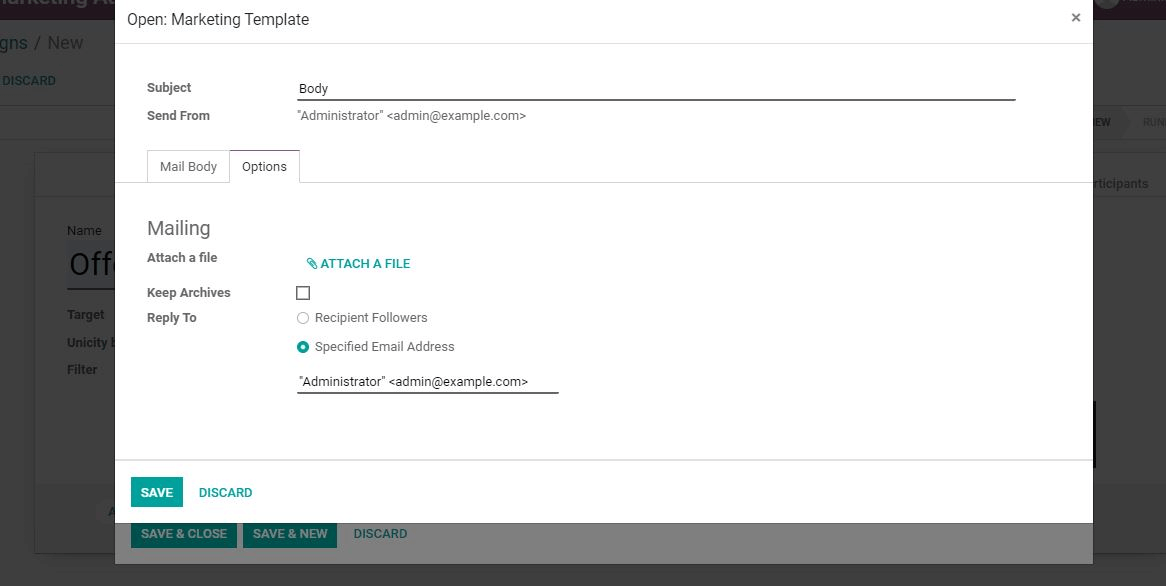
The mailing method under this tab offers a chance to insert & attach files. This also enables the user to respond to individuals and archive files. The process gets completed once we save and close.
We get more fields there when we return to Campaigns after completing the process.
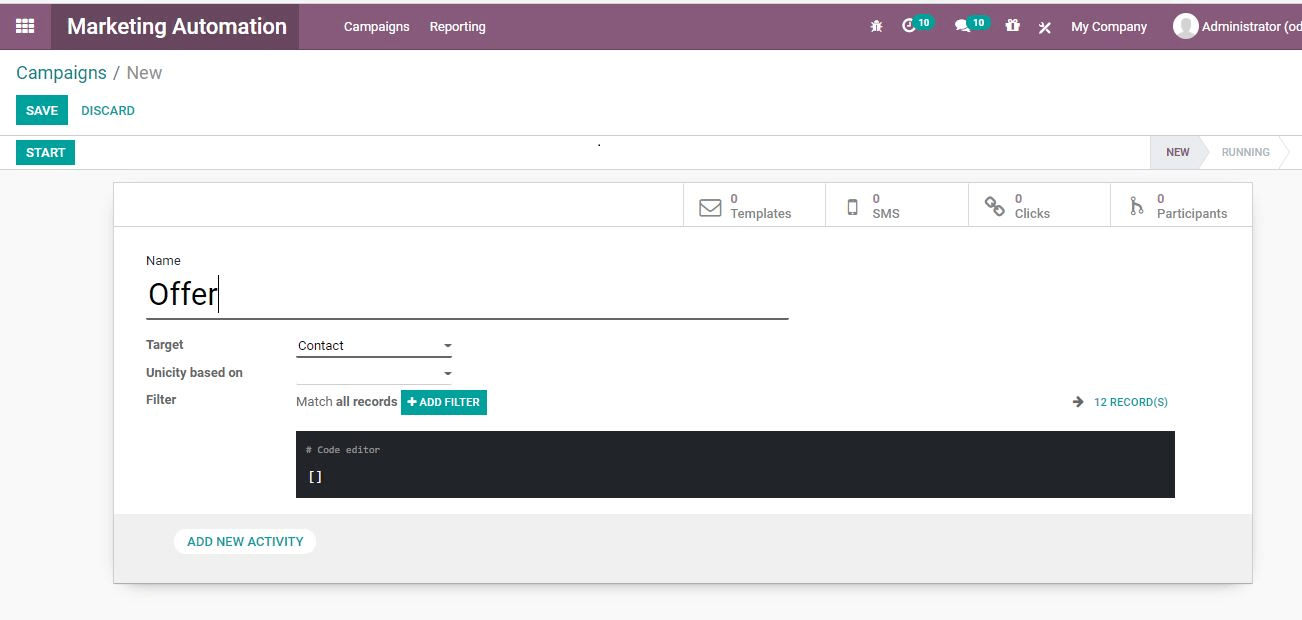
Option Filter:
The Filter field helps to filter records for users. The filtering is rules-based. On the other hand, the trigger option causes the duration or interval to be fixed, such as an hour, week, month
The expiry duration is a primary filtering choice depending on the end time and date of the initiative.
Here we will find the Domain option as well.
We can pick the record with the Operation filter.
Applied Filter on the other hand allows for the alignment of a record with the filtered text
Fill up all of the values?? and Save. We now have a start button and the campaign goes live when we click on the option.
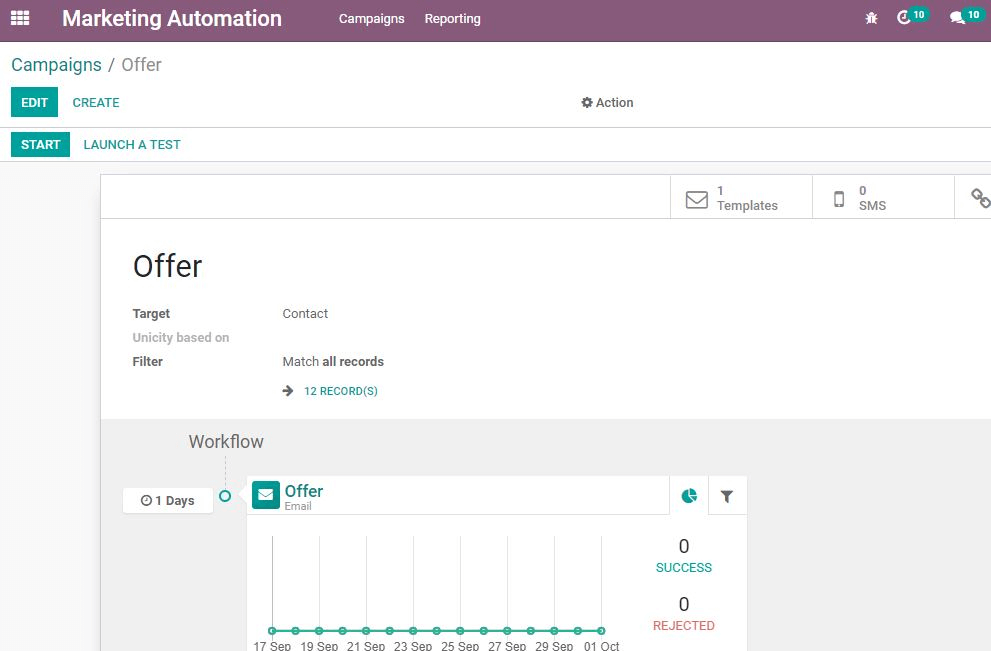
Use the Stop button If we want to stop marketing campaigns. It is possible to control the list of participants by clicking an option.
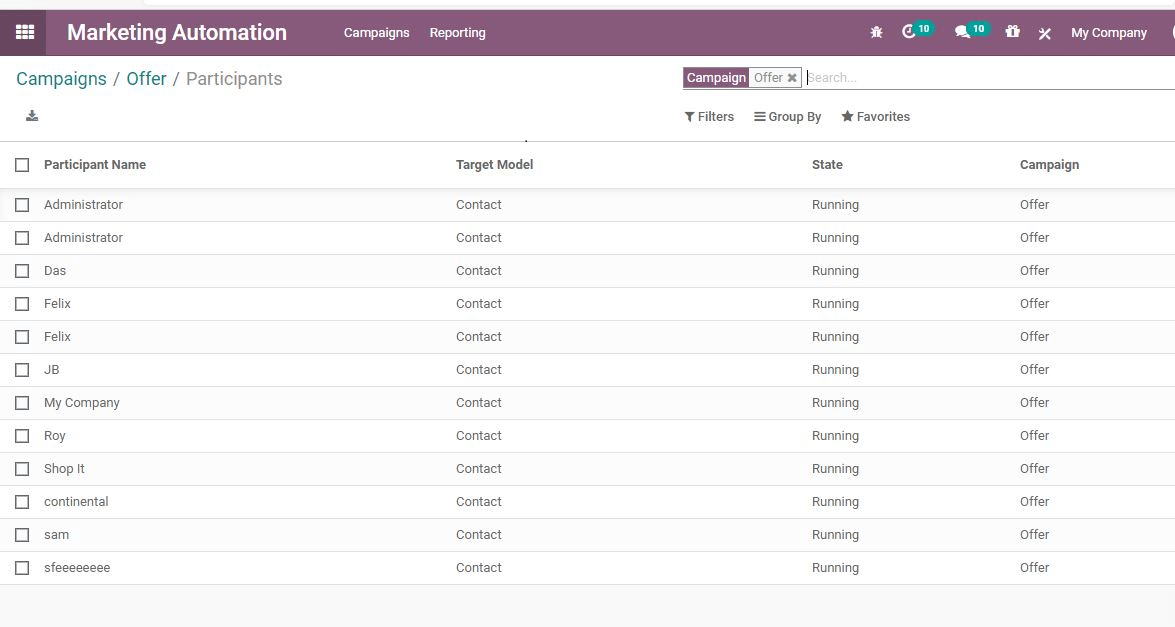
Now we can check the activities that have been planned for a participant. By clicking the name of the participant, this can be achieved.
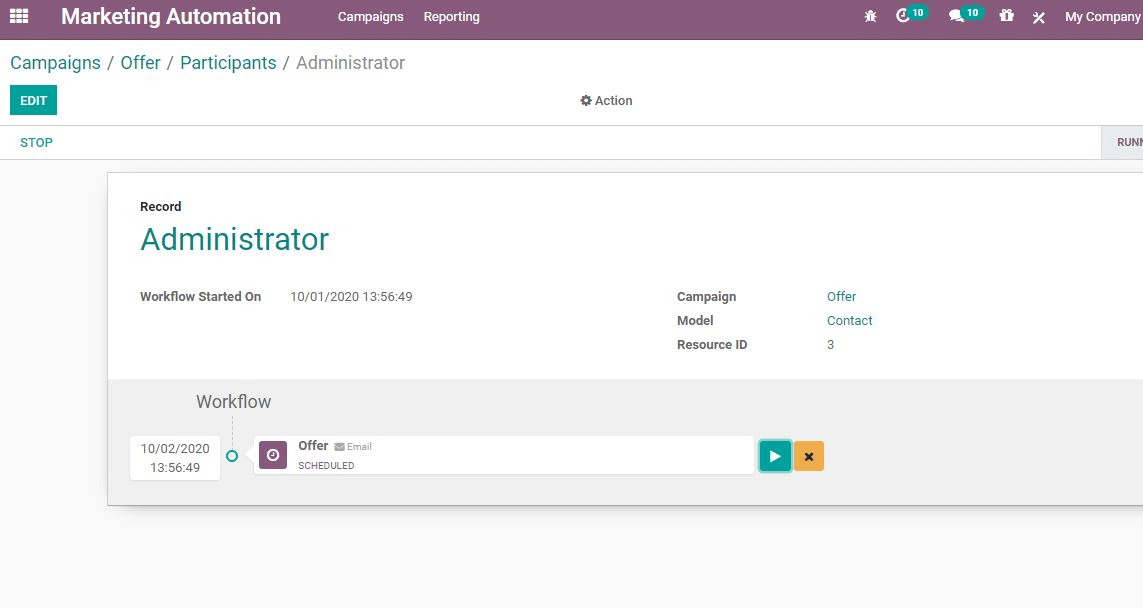
It is possible to use the play button in the image above to run an operation.
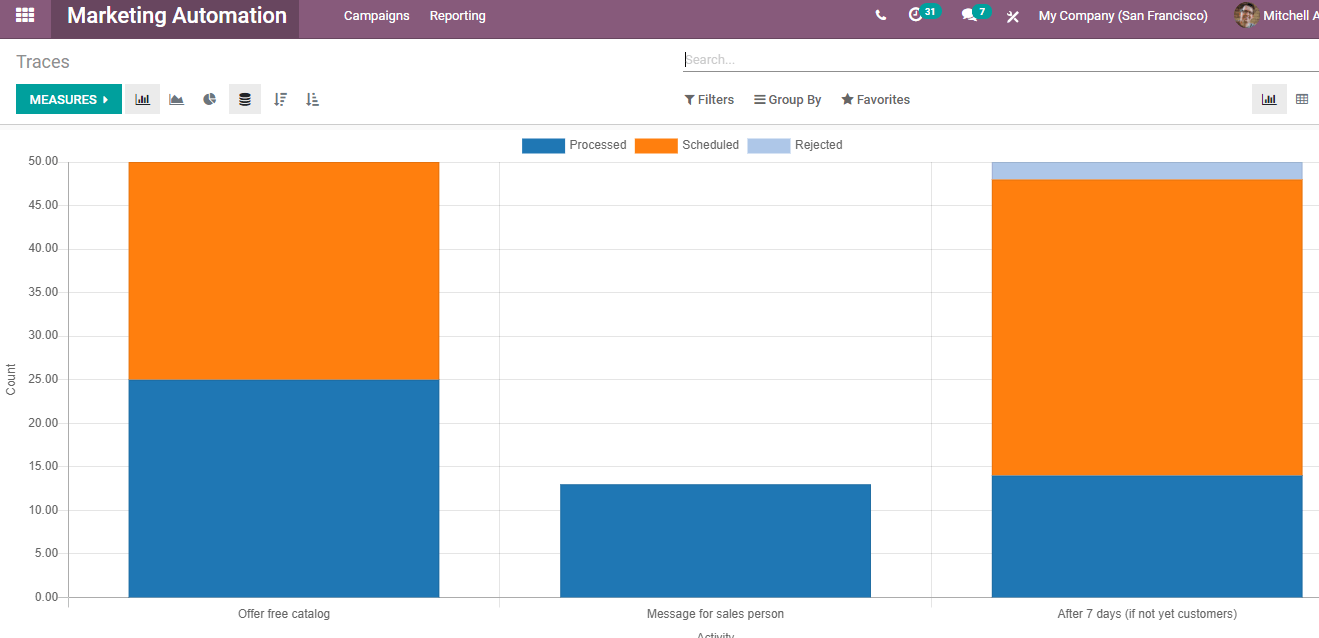
Generate reporting
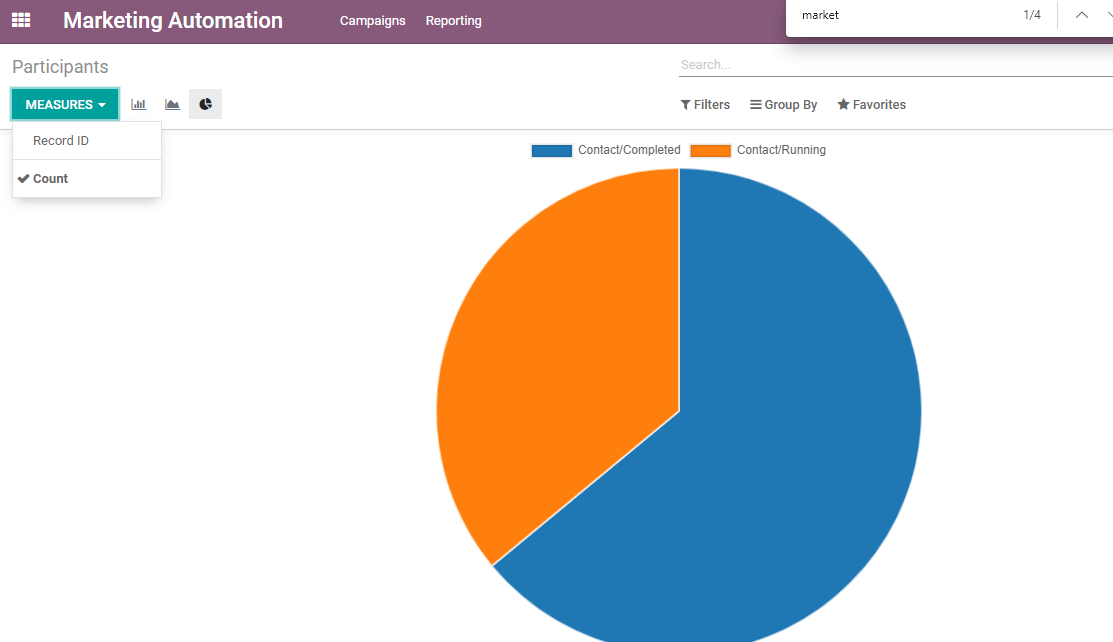
Like other versions of Odoo, Odoo 14 gives significance to report generation. This helps to handle reports about the effect of the campaigns. On the basis of the Line Tracker and Traces, it can be managed. It is also possible to create a report based on the participants with a click.
Conclusion: Odoo 14 Marketing Automation
One can easily customize campaigns with Odoo 14 marketing automation and identify automated behavior. By sending targeted and customized emails, Odoo 14 is easily tailored to the buyer's decision-making journey. Based on the score of a prospect, sector, page visited, job description, or even their place within the sales cycle, it dynamically adjusts the email content. To keep in touch with prospects who are not prepared to speak to your sales representatives, set up lead nurturing campaigns.
50,000+ companies run Odoo to grow their businesses.
Join us and make your company a better place.